
10 best Coloring Techniques to Elevate Your Adult Coloring Pages
Introduction: Take Your Coloring to the Next Level
Coloring isn’t just for kids—it’s a therapeutic and creative outlet for adults, allowing you to relax while expressing your artistic side. But have you ever looked at professionally colored pages and wondered how they achieve such depth, vibrancy, and seamless blends?
Many adult colorists struggle with making their pages look polished and professional. Colors may appear flat, shading might not blend well, and textures often lack depth. If you’ve ever faced these challenges, don’t worry—you’re not alone!
With the right advanced coloring techniques for adults, you can transform any simple coloring page into a masterpiece. This guide will walk you through 10 expert-level techniques to help you blend colors effortlessly, create stunning gradients, and add realistic details to your artwork.
Whether you’re a beginner looking to improve or an experienced colorist wanting to refine your skills, these techniques will elevate your coloring game.
Table of Contents
1. Layering: The Secret to Rich and Vibrant Colors
Why Layering Matters
One of the most effective ways to make your coloring pages stand out is by layering colors. Instead of applying heavy pressure to get bold colors, layering involves building up colors gradually, allowing for a more refined and professional look.
How to Layer Colors Effectively
- Start Light – Use a gentle hand and apply the first layer with soft pressure.
- Gradually Build Intensity – Add additional layers, slightly increasing the pressure each time.
- Use Different Shades – Combine multiple shades of the same color family to create depth.
- Experiment with Color Blending – Overlay complementary colors to create unique tones.
Pro Tip: Use high-quality colored pencils like Prismacolor Premier or Faber-Castell Polychromos for the best layering results.
2. Blending Techniques for Seamless Transitions
Why Blending is Important
Flat colors can make your artwork look lifeless. Blending helps create smooth transitions, making your pages look more realistic and dynamic.
Best Methods to Blend Colors
- Pencil Blending: Use soft, circular motions to merge colors naturally.
- Blending Stumps: These tools help soften the edges between colors.
- Solvent Blending: A colorless blender pencil or mineral spirits can dissolve the pigment, creating a smooth effect.
- Cotton Swab or Tissue Blending: Great for softening harsh edges.
Example Use Case: Want to create a glowing sunset? Try blending orange, red, and yellow using circular motions, then smooth the transitions with a blending stump.
3. Shading for Depth and Dimension
Why Shading is Essential
Shading adds realism and three-dimensionality to your coloring pages, preventing them from looking flat.
How to Shade Like a Pro
- Determine Your Light Source – Identify where the light is coming from and shade accordingly.
- Use Gradient Shading – Gradually fade colors from dark to light.
- Layer with Darker Colors – Instead of using black, try dark blue, brown, or purple for more depth.
- Feathering Technique – Use light, feathery strokes to blend shading smoothly.
Example Use Case: Coloring a flower? Shade the inner part of the petals darker and lighten toward the edges for a realistic effect.
4. Cross-Hatching for Texture and Contrast
What is Cross-Hatching?
Cross-hatching is a technique where parallel lines overlap at different angles, adding texture and depth.
Steps to Apply Cross-Hatching
- Draw Parallel Lines – Start with light, straight lines in one direction.
- Layer Another Set of Lines – Cross them at an angle to build texture.
- Increase Density for Darker Areas – More overlapping lines create richer shadows.
Example Use Case: Coloring wooden objects or fur? Cross-hatching gives a natural grainy texture, enhancing realism.
5. Burnishing for a Polished Look
What is Burnishing?
Burnishing is the process of applying heavy pressure to smooth and blend colors, giving them a waxy, polished look.
How to Burnish Effectively
- Layer Colors First – Build up light layers before burnishing.
- Use a White or Colorless Blender Pencil – This smooths out the pigments.
- Apply Firm Pressure – Press firmly in circular motions to create a glossy effect.
Example Use Case: Want a realistic gem effect? Burnish light and dark tones together for a shiny, reflective look.

6. Stippling for Unique Textures and Effects
What is Stippling?
Stippling is a shading technique that involves using small dots to create texture and depth. This method is particularly useful for adding grainy effects, soft shading, or realistic textures to objects like skin, sand, or fur.
How to Use Stippling in Coloring Pages
- Choose a Fine-Tip Tool – A fine-tipped marker or colored pencil works best for controlled stippling.
- Start with Light Dots – Apply small, sparse dots where you want the lightest shading.
- Increase Density for Darker Areas – The more dots you add, the darker the shading appears.
- Experiment with Different Pressures – Pressing harder or softer can change the size and intensity of your dots.
Example Use Case: If you’re coloring a starry night sky, use stippling to create a soft, glowing effect for distant stars, making your artwork look more lifelike and artistic.
7. Using White Space for Highlights and Contrast
Why White Space Matters
Most colorists focus on filling every part of the page, but strategic white space can make your artwork pop. Leaving select areas uncolored creates highlights, adds contrast, and enhances realism.
Best Ways to Use White Space in Coloring Pages
- Highlighting Areas of Light – Avoid coloring parts where light naturally hits an object.
- Creating Shine and Gloss – Use white space to simulate reflections on glass, water, or metallic objects.
- Enhancing Depth – Letting some white space peek through makes colors appear more vibrant and natural.
Example Use Case: When coloring water droplets, leave the top part of the droplet uncolored. This gives the illusion of light reflecting off the surface, making it look more realistic.
8. Mixed Media Coloring: Combining Different Tools for Stunning Effects
What is Mixed Media Coloring?
Mixed media involves using multiple coloring materials together, such as colored pencils, markers, gel pens, and pastels. This technique adds texture, vibrancy, and depth to your coloring pages.
How to Use Mixed Media for Stunning Results
- Base Layer with Markers – Alcohol markers provide smooth, bold color foundations.
- Add Depth with Colored Pencils – Layer colored pencils on top to add shading and details.
- Enhance with Gel Pens or Metallic Markers – Use these for adding sparkle, highlights, or intricate accents.
- Blend with Soft Pastels – Use pastels for smooth backgrounds or atmospheric effects.
Example Use Case: If you’re coloring a galaxy scene, start with alcohol markers for a deep space background, then add stars with a white gel pen and enhance glow effects with pastels.
9. Watercolor Pencils for a Soft, Blended Look
Why Watercolor Pencils are Game-Changers
Watercolor pencils allow you to enjoy the precision of colored pencils with the fluidity of watercolor paint. They are perfect for creating soft, dreamy backgrounds and smooth gradients.
How to Use Watercolor Pencils in Coloring Pages
- Apply Dry Pencil Strokes First – Use watercolor pencils just like regular colored pencils.
- Activate with Water – Use a damp brush or water brush pen to blend the colors.
- Layer for Depth – Once dry, add more color and repeat the process for deeper tones.
- Use Masking Techniques – To protect certain areas, use masking tape or a wax resist technique.
Example Use Case: If you want to create a soft, misty background for a fantasy illustration, watercolor pencils give a delicate gradient effect that traditional colored pencils can’t easily achieve.
10. Adding Fine Details with Gel Pens and Highlights
Why Details Matter
Adding small, intricate details can make a huge difference in your artwork. Gel pens, metallic inks, and white markers help highlight focal points, making your coloring pages look more dynamic.
Best Ways to Use Gel Pens for Detailing
- Outlining Features – Add a thin outline to define elements and make them stand out.
- Highlighting Textures – Create shimmer effects on jewelry, stars, or magical elements.
- Adding Sparkles and Glow – Use white or metallic gel pens for enchanted effects.
Example Use Case: If you’re coloring a fairy’s wings, apply subtle white gel pen strokes to create a delicate, glowing appearance.
Final Thoughts: Unlock Your Full Coloring Potential
Coloring is more than just filling in shapes—it’s an art form that allows endless creativity. By incorporating these advanced coloring techniques for adults, you can transform your pages into visually stunning pieces.
Next Steps: Take Action Now!
🔹 Try These Techniques on Your Next Coloring Page
🔹 Share Your Artwork and Experiment with New Styles
🔹 Explore Our Collection of Premium Coloring Pages at Dibital.com
For more in-depth tutorials and downloadable coloring pages, stay connected with us and keep enhancing your skills! 🚀
Some Best Coloring Pages Books in Demand. Many Oder in Last 24 Hours.

375+ Coloring Pages Bundle – Endless Fun for All Ages!
Unlock hours of creativity with our 375+ Coloring Pages Bundle! Instantly downloadable, this collection offers designs for all ages and skill levels. Perfect for at-home or classroom fun. coloring pages bundle, digital coloring pages, printable coloring pages, adult and kids coloring, creative coloring collection.

Baby Animals in Springtime – 23 Adorable Coloring Pages
Celebrate spring with 23 adorable baby animals in springtime coloring pages! Perfect for kids and adults, these charming designs bring the season to life. Baby animals in springtime coloring pages| Spring-themed animal coloring sheets| Cute baby animals designs| Seasonal coloring pages for kids| Printable spring animal activities.

20+ Pokemon Coloring Pages – Best Instant PDF Download
Discover 20+ Pokemon coloring pages in this digital PDF! Perfect for kids and adults, these printable pages offer endless coloring fun for every Pokemon fan. Download and color today! Pokemon coloring pages, digital Pokemon coloring book, printable coloring book, instant download Pokemon PDF, coloring pages for kids.

Zoo Coloring Pages – 26 Fun and Educational Designs
Explore the wild with 26 zoo-themed coloring pages! Perfect for kids and families, these engaging designs feature lions, monkeys, giraffes, and more. Download now! Zoo Coloring Pages| Animal coloring sheets| Kids zoo coloring activities| Educational zoo-themed coloring pages| rintable coloring pages for kids.

Cozy Fireside Scenes – 12 Relaxing Best Coloring Pages
Unwind with 12 cozy fireside scenes coloring pages! Perfect for all ages, these tranquil designs bring the warmth of fireside moments to life. Cozy fireside scenes coloring pages| Relaxing fireside coloring designs| Warm and cozy coloring sheets| Mindful coloring pages for relaxation| Printable fireside-themed activities.
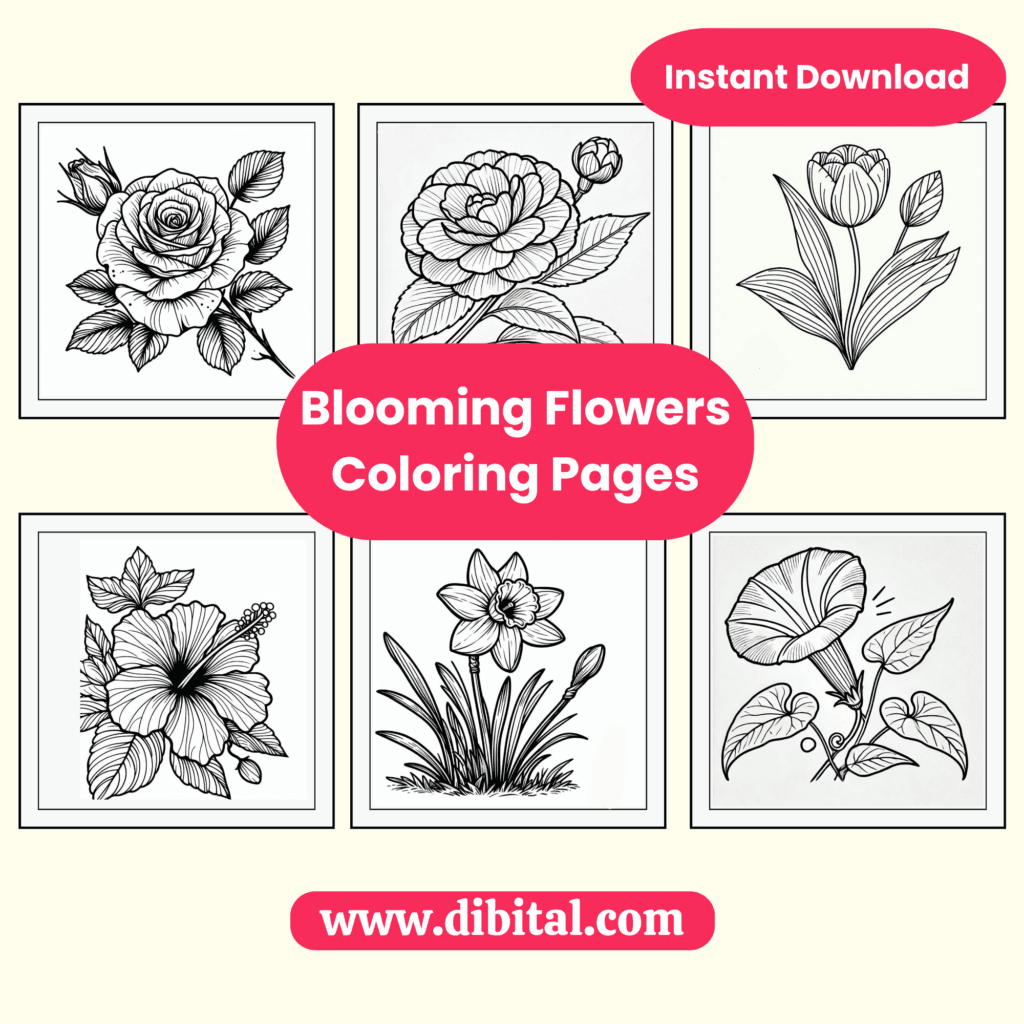
Blooming Flowers Coloring Pages – Best 22 Floral Designs
Color your way to relaxation with 22 beautiful blooming flowers coloring pages! Perfect for all ages, these floral designs are a creative and calming activity. Blooming Flowers coloring pages| Floral coloring sheets| Relaxing flower-themed activities| Printable floral designs| Flower coloring pages for mindfulness.
Printing Tips for Best Results
Adjust printer settings to “Best Quality” for sharper designs.
Use high-quality paper to prevent bleeding.
FAQs: Advanced Coloring Techniques for Adults
Here are some frequently asked questions about advanced coloring techniques for adults to help you improve your skills and create stunning artwork.
1. What are the best coloring techniques for realistic shading?
To achieve realistic shading, use:
- Layering – Build color intensity gradually.
- Blending techniques – Use blending stumps, solvent blending, or burnishing.
- Gradient shading – Transition smoothly from dark to light using circular strokes.
- Cross-hatching – Great for adding texture to natural elements like wood or fur.
2. How can I blend colored pencils smoothly?
For seamless blending, try:
- Soft layering – Use light pressure and multiple layers.
- Colorless blender pencils – Helps merge pigments smoothly.
- Solvent blending – Gamsol or mineral spirits dissolve wax-based pigments.
- Tissue or cotton swabs – Ideal for softening edges naturally.
3. What is the best way to add highlights to a coloring page?
For realistic highlights, you can:
- Leave white space uncolored in key areas.
- Use a white gel pen for reflections and shine.
- Apply a colorless blender pencil to lift color from highlights.
- Try erasers to lighten specific areas subtly.
4. What tools are best for mixed media coloring?
For mixed media artwork, use:
- Alcohol markers for bold base colors.
- Colored pencils for depth and shading.
- Gel pens for fine details and metallic effects.
- Soft pastels for smooth backgrounds and gradients.
5. How do I create a smooth gradient effect with colored pencils?
To create smooth gradients, follow these steps:
- Choose two or more shades that transition well.
- Apply the lightest color first, using soft pressure.
- Gradually layer the middle shade to blend into the first.
- Use circular motions or light feathering to merge colors.
- Burnish with a blender pencil for a polished look.
6. Can I use water with regular colored pencils?
No, regular colored pencils are not water-soluble. Instead, use watercolor pencils, which can be activated with a damp brush for a smooth, blended effect.
7. How can I make my coloring pages look more professional?
To achieve a professional finish:
- Use high-quality paper – Thicker, textured paper prevents bleeding.
- Try advanced techniques – Layering, stippling, and mixed media add depth.
- Invest in premium supplies – Brands like Prismacolor and Faber-Castell offer richer pigments.
- Use color theory – Complementary colors enhance visual appeal.
8. What is the best paper for coloring with markers and pencils?
- For colored pencils – Smooth, heavyweight paper like Strathmore Bristol.
- For alcohol markers – Marker-specific paper like Copic Sketchbook.
- For watercolor pencils – Cold-pressed watercolor paper to prevent warping.
9. How do I prevent streaks when coloring with markers?
- Use circular or side-to-side motions for even coverage.
- Work quickly – Markers blend better before drying.
- Layer colors lightly to avoid oversaturation.
- Use a blender marker to smooth out streaks.
10. Where can I find high-quality adult coloring pages to practice these techniques?
You can explore premium printable adult coloring pages at Dibital.com for beautiful designs that let you practice advanced techniques!
